Code Repositories
Code repositories are git repositories that contain your code to run functions within MLReef´s structured pipelines. You have total freedom to create any script with any framework and docker image. We want you to be able to unleash your full potential without restricting you.
One of our main goals is to be non-intrusive. Your workstyle is important to us. Therefore, we have decided to not include any dedicated MLReef library but instead use generally accepted conventions to understand your scripts and enable a CI/CD based ML development approach.
In the following section, you will find some key aspects on all the above and some further documentation links to relevant sections.
Let´s start by the basics:
Creating a new Code Repository (aka AI Module):
Access the AI Library section and create a new code repository by clicking "Create new AI module". The dropdown will give you the choice to either create a Model, Data Operation or Data Visualization repository.
Keep in mind, that this structure is also maintained when you want to execute your script within the ML pipelines in your ML Projects - a Model Repository can only be used in Experiment Pipelines.

Follow these steps to get started:
-
Write the name, description, data types and privacy level (public, private).
-
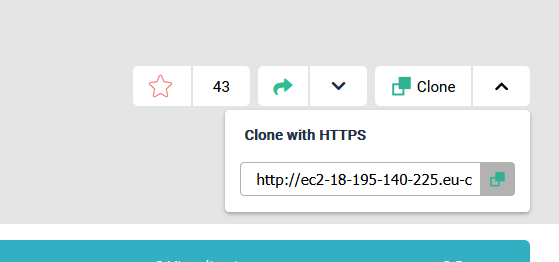
Upload the python code using Git or manually in the site. You can clone the project, copy the code in the folder that you cloned and in the terminal:
git add .
git commit -m "your commit message"
git push origin master
Git is going to ask you for the username and password, use the ones that you set up in MLReef.
Optionally, you can start from scratch by creating a new file. Here, we provided you the option to start with templates that contain some code to get started:

- Maintain the syntax convetions to publish your first AI Module
Publishing AI Modules
A code repository on its own is not enough to be used in MLReef´s pipelines. You first need to publish it. You can fast forward this section with a dedicated chapter on the publishing process or keep reading for a top-level view.
The main questions are:
Why do I need to publish an AI Module?
A git repository by itself is just code, that is not runnable by itself. The publishing process helps to convert normal code into explorable, re-usable and interoperable AI Modules.
Your code will be converted into a drag and drop element that anyone in you, anyone in your team or community can simply use without the need to configure or setup anything. Each module can be adjusted by your parameters and you can create as many versions and branches of AI Modules as you like - your progress is immutable and will always work!
What does the publishing do?
The publishing process automatically containerizes your git repository with a docker image and stores it in MLReef´s registry. During this process, your defined parameters within your entry point script is parsed to be easily addressed during pipeline execution.
In addition, your requirements.txt file will be parsed and all dependencies will be installed using pip or anaconda.
What are the requirements to publish an AI Module?
To publish your script into an AI Module, you need at least:
- An entry point scripts
- A requirement file (requirements.txt) containing your dependencies
Your script needs to maintain some very basic syntax conventions. These are
- You need to use argparse to enable command line arguments during pipeline execution.
- If you want your model to create graphs during training, you will need to output a experiment.json file.
On a top-level view, the argparse is a command line parsing to describe and make your parameters
addressable via command line.
We provide you a template in MLReef so that you can see how to use argparse in your script. This is how it looks:
    # On a top-level, there are two main conventions for your scripts.
    # 1. Include argparse arguments to your parameters.
    # 2. Include at least an input-path and and output-path argument.
    # You can add any other arguments on top of these.

    # In addition, if you create a experiment.json file as output, you will be able to see graphs created in
    # the experiment section of your models.

    # start by importing "argparse"
    import argparse

    # add the following section to your script in accordance to your scripts parameters.
    if __name__ == "__main__":
    parser = argparse.ArgumentParser()

    # mandatory:
    parser.add_argument('--input-path', action='store', default='train', help='path to directory of input files')
    parser.add_argument('--output-path', action='store', default='output', help='output directory')

    # optional, include as little or as many you like:
    parser.add_argument('--class-mode', action='store',type=str,default='categorical', help='"categorical", "binary", "sparse","input", or None')

    args = parser.parse_args()

    # optional, for creating and managing input & output dirs:
    if not os.path.exists(args.output_path):
        os.makedirs(args.output_path)
    if args.input_path is None:
        parser.print_help()
        sys.exit(1)
    if not os.path.exists(args.input_path):
        print("directories do not exist")
        sys.exit(1)

    train(args)
How do I publish an AI Module?
Once you have your scripts ready to be published you can start the publishing wizard by clicking the "publish" button:

The wizard will guide you through the entire operation. It contains:
- Select your branch and entry point for training and optionally inference functions 1.1 You also can provide a dedicated file that contains all your parameters for all files. Simply click the checkpoint and mark your file.
- Review your arguments and optionally select visibility for use
- Select a fitting base environment for your scripts.
- Review the entire process and start your publication.
This will create a mlreef.yml file in your repository. Here you can review the stages and CI/CD configuration.
We are currently working on an update, where you will be able to include any custom stages for testing, validation or vulnerability screening during publishing. Keep updated!
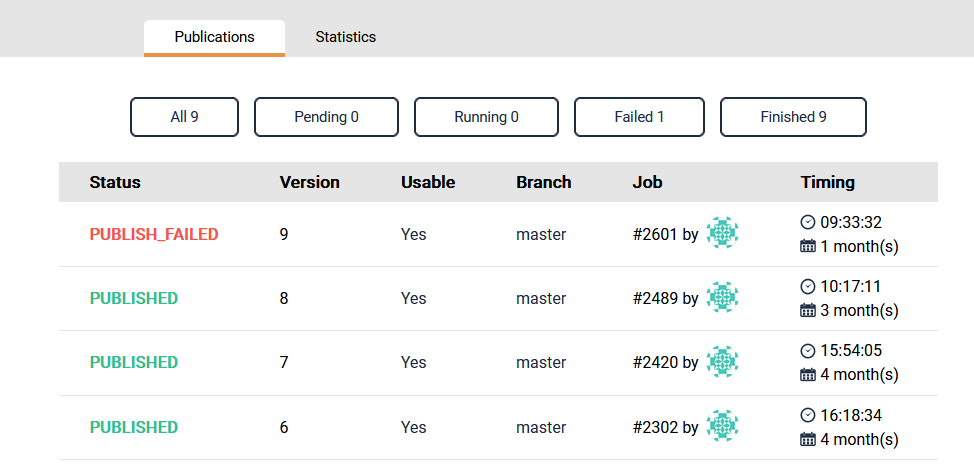
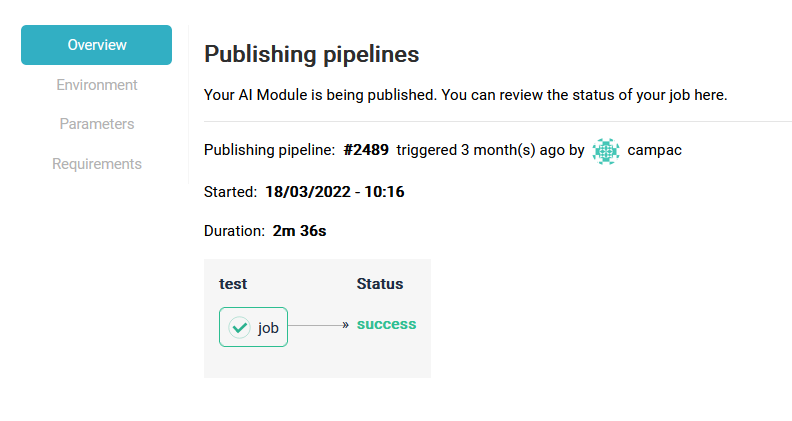
You also can review the log for your publication, to see if all worked out well and all your dependencies where installed properly.

To dive deeper in the logs, click on the publishing status for more details:

